Your garage door is one of the heaviest and most frequently used appliances in the household. Weighing in at anywhere between 180 lbs, all the way up to a whopping 400 lbs, garage doors have a lot of moving parts and tend to malfunction from time to time. Fortunately, most mechanical and electronic related issues are typically easy to correct. You can either fix it on your own, or a simple call to a garage door specialist should do the trick.
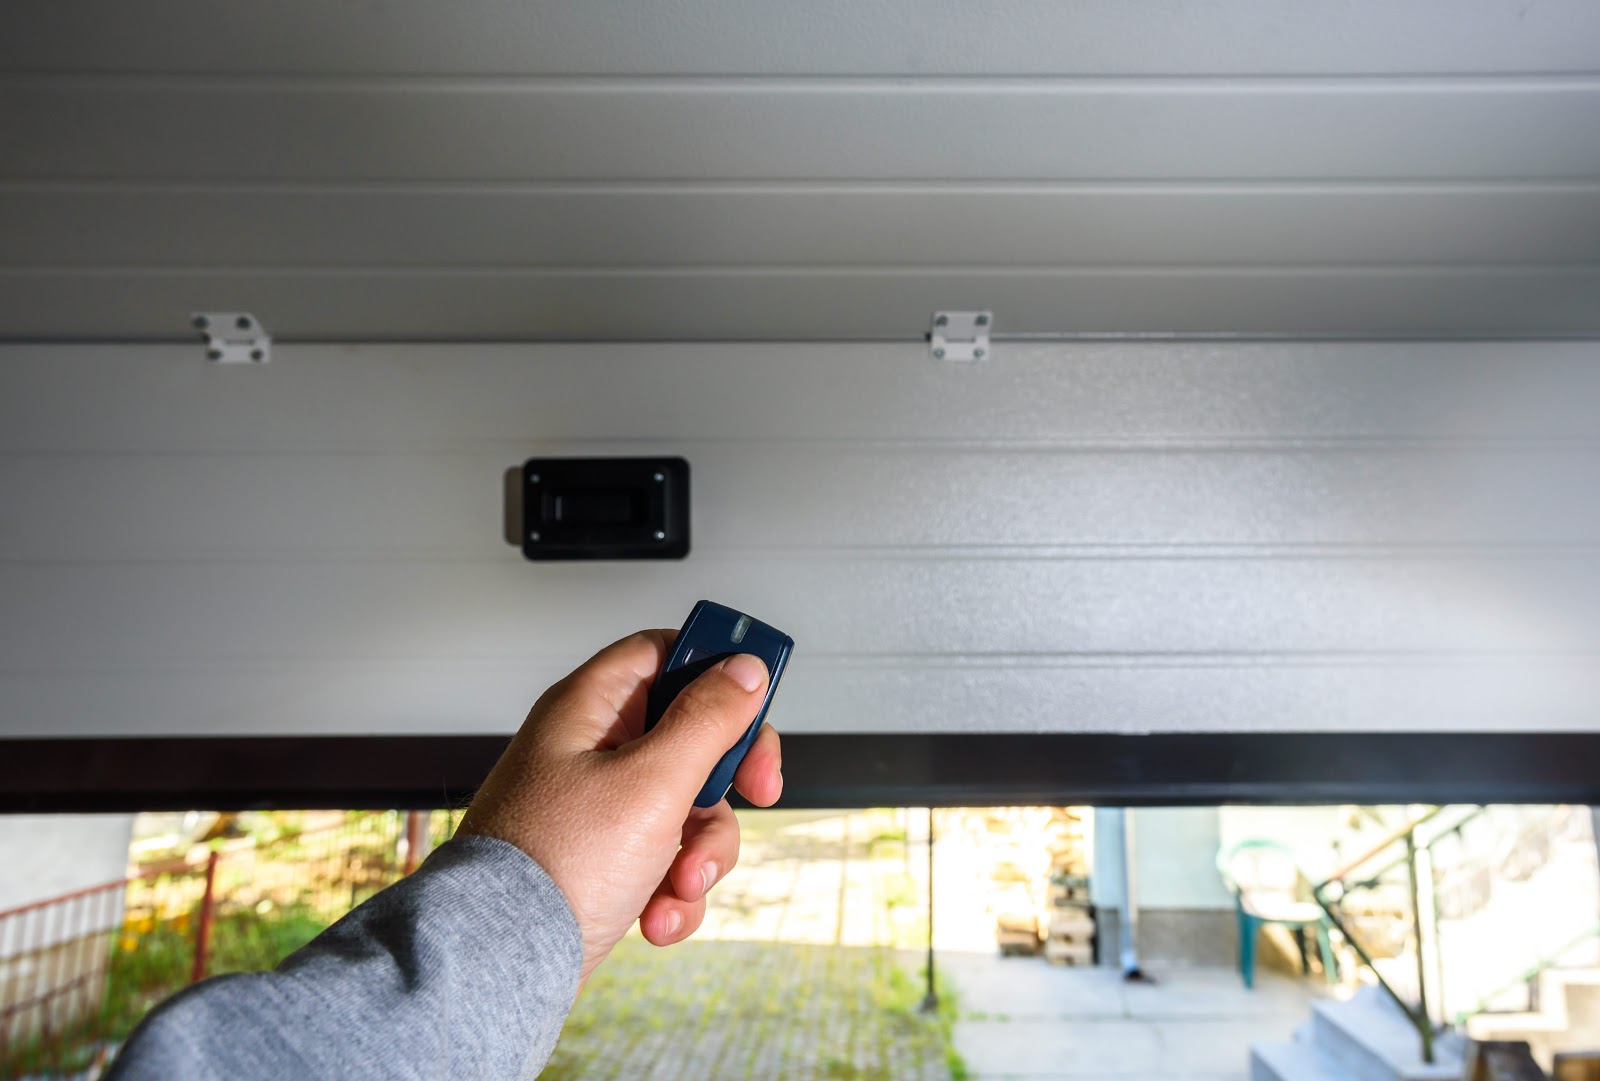
When the garage door fails to open, most people panic and begin to envision a huge repair bill or begin watching DIY garage door repair videos on YouTube. Before you go ‘jumping off a cliff’ and calling a professional, or dismantling your garage door opener, the best way to troubleshoot a finicky garage door is to investigate the quick fixes first. Square one: The batteries in your garage door remote.
Changing the Batteries in Your Garage Door Remote
Dead batteries are the #1 cause for garage door remotes not working. The lifespan of garage door remote batteries is about two years, depending on how often your garage door is going up and down. Another factor is what type of garage door remote and battery you’re using.
One of the telltale signs that your garage door remote is running low on juice is that you have to click it several times for it to successfully open your garage door. So let’s take a closer look at what kind of garage door remote batteries there are and how to change them.
Step 1: Opening Your Garage Door Remote
Chances are you won’t need any tools to open the back cover of your garage door remote. At most you may need a Phillips-head screwdriver or smaller, but with newer remotes that is highly unlikely. Start by turning the garage door remote over. There you should see a cover that can be removed. Slide the cover down with your thumb to expose the battery housing. If no back cover is visible, it may be that the entire remote pops in half at the seam and splits into two pieces. Best case scenario you have an owner’s manual to show you exactly how to open the garage door remote.
Step 2: Identify the Battery or Batteries
As with most handheld devices, there are a few different types of batteries that may be needed. Typically, your garage door remote will have a circular battery that looks like a coin. With batteries like this, it is important to notate the numbers on the battery so you can properly replace it, the sequence will usually start with a ‘C’. In rare cases, your remote may require a smaller alkaline battery like a AAA battery. Larger remotes will call for AA, but that is uncommon with garage doors installed in the last decade. Once you have established what kind of battery needs replacing, it’s off to the store to buy two sets. One to replace the old batteries, and another to have on standby for the next time this happens.
Step 3: Replace Batteries and Reprogram Your Garage Door Remote
Once you’ve purchased the right battery for your garage door remote, follow the above steps to re-remove the back cover. Simply pop in the new battery or batteries and replace the cover. At this point, you may need to reprogram your garage door remote. This is easier than it may seem. If your garage door was installed in the last 5-8 years the remote will typically have a one-button pairing option. Find the pairing button, hold it down for 3 seconds (you may see a blinking light) and release. This should have successfully paired your garage door remote with the garage door opener. If you are having trouble pairing your remote, go online and search for the model number of the remote. There will likely be an instruction manual available to successfully walk you through the process.
Ideas for Making Your Life Easier
There are a few ways to make your life easier, even if your garage door remote is being difficult. It may require you to do a little more reading or even making a call to a garage door professional, but if you’re looking to simplify things in the future, refer to the below tips for streamlining the process.
- Look for an Online Manual – Almost everything has an online PDF user’s manual now. If you can find out what garage door remote and/or garage door brand you originally had installed, there is a great chance they have lengthy instructions for you to follow online. There may even be visual aids and other troubleshooting methods for problems that arise in the future.
- Use Your Cell Phone as Your Garage Door Remote – In the era of smartphones, it is no surprise that you can now have your garage door open with the simple flick of a finger. If you are like most people, you usually have your smartphone with you at all times. Ask your garage door installer if they can outfit your current garage door system with this feature so you always have access to your garage without the use of a separate remote.
- Keypad Garage Door Entry – This is a great idea, secondary to the handheld remote. If you lose your garage door remote, or in this instance the battery dies, and you need immediate access to your garage, installing a keypad on the exterior of your home may be a great solution. Keypad entry systems are affordable and moderately easy to install. Contact your garage door installer to find out if they can help you find the best fit for your garage door system.
Precision Garage Door Las Vegas are experts at fixing any garage door problem in less than 2 hours. For assistance, contact us directly at 877-301-7474. Our garage door installation experts can answer your questions or schedule a free in-home estimate.


